
Of course, it takes time to grown from a small seed sprout, and then the bush, which flared up in the fall of luxury dahlia.But our flowers most rapidly growing species. We made them all for 40 minutes at the master class. Meet you and with the new technology, or rather with a kind already known. It's called: Trimming on clay.
For the flower take corrugated paper in two colors: for petals and serdtsevinki. Still need the green crepe paper for the stem and leaves.
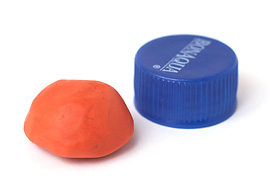
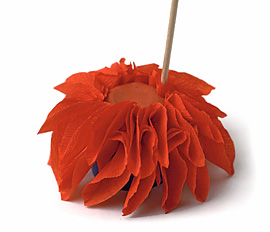
- Take a piece of clay (preferably the same color as the petals), commensurate with the size of caps from plastic bottles.The cover is also useful as a support tool. Stressing the plasticine form Hemisphere.
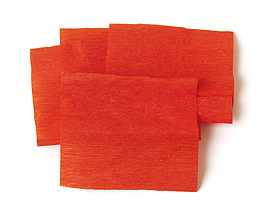
- Slices of paper squares with a side of approximately 5 cm They need about 15 pieces.
- Fold diagonally across multiple squares.
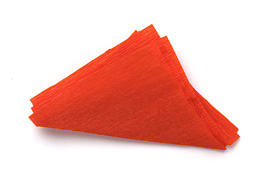
- Cut out the petals. Do the same with all the squares.

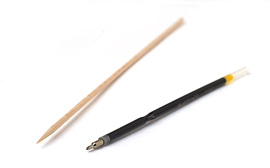
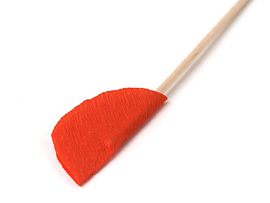
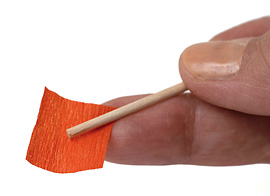
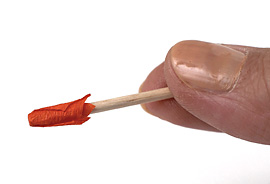
- Now take the tool for miter. This may be a rod of a ballpoint pen or a small wooden stick - with the blunt end of skewer.
- Put down the blunt end of a stick in the middle lobe about two-thirds of the petals.
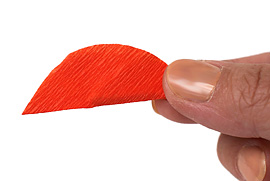
- Bend forward free end of the petal.
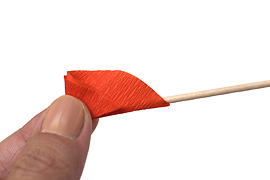
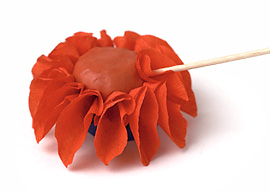
- Plug the stick with the petal to the bottom of plasticine billet. Take your wand.
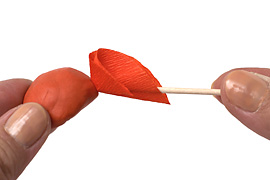
- Petal unbent a little down. That's why we come in handy cap. Put it on clay, while you prepare the next petal.

- Next petal stuck close by 4-5 mm.
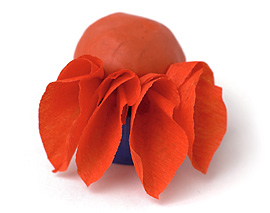
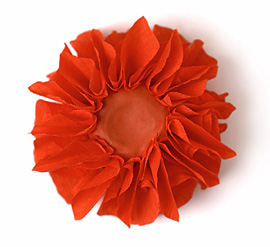
- Here is the finished top of the first row. Look to the petals down the straight the same angle. You can open the petals of a finger.
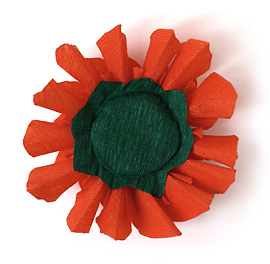
- From a square of side 4 cm Cut out the sepals.
- Put them back on the clay.
- With the help of stacks of paper or nail dent on the edge of the workpiece in plasticine.
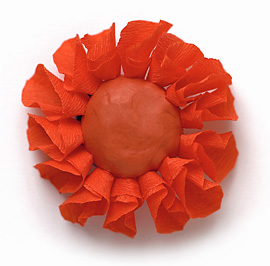
- Now we shall cut squares of side 3.5 cm for the second row of petals. There may be a little less. Likewise, Cut out the squares of the petals. Stuck petals second series at 3-4 mm above the first in a checkerboard pattern. Make sure that these petals are also unbent down instead of sticking to the sides. It's easy to make the slope of sticks. Then the flower will get the desired spherical shape.
- Here is the second row. The petals can also be aligned and open.
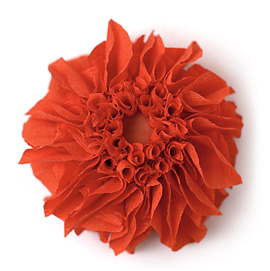
- For internal series slices squares with a side of 1.5 - 2 cm Put a stick on the box diagonally up the middle.
- Bend the corner of the square, closing the wand. Dubious paper on all sides with your fingers of his left hand and rolled it to become a tube.
- Stuck a stick with a petal is very close to the second row.
- Make two rows of tubular petals.
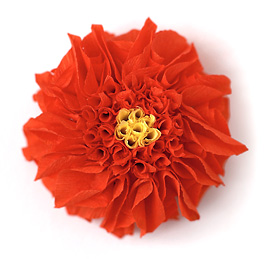
- Paper Cut out squares of different colors of the same size and make serdtsevinku.
- To take the stem wire or skewer. Cut a strip of green paper width 1-1,5 cm Smazh tip glue and wrapped stem.
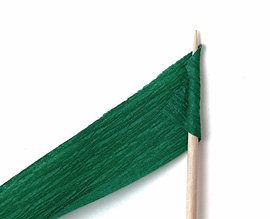
- Stick the stem of a flower.
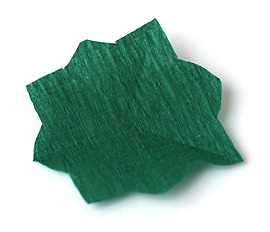
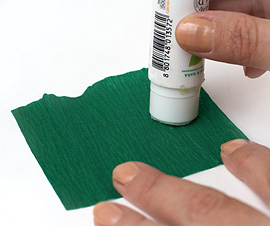
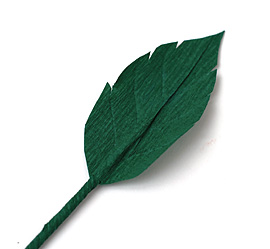
- From the square of green paper with a side of 8 cm piece do a flower. Bend and straighten the square in half (fold line - along the lines of corrugation). One side of the well promazh adhesive with a pencil.
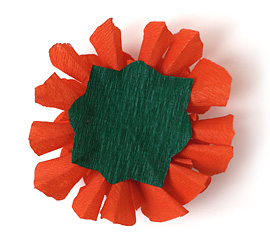
- Put it in the middle of the greased wire, wrapped with paper, and covered the second half of a paper
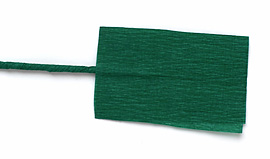
- Cut out a leaflet, make teeth on edge. Until the paper is damp, you can draw veins rod or stick.
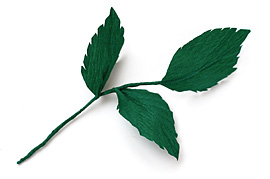
- Two other leaflets can be performed separately and glue them to the stem of the first sheet. Wet paper can make any shape. When the glue has dried, the leaves will become tough.
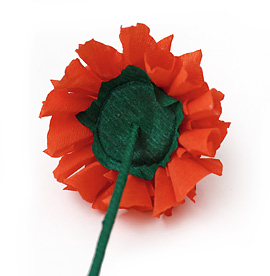
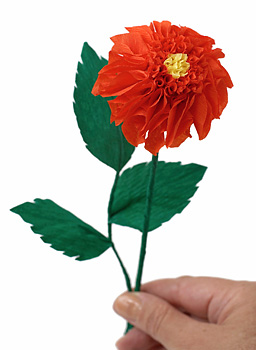
- Here is a flower with a leaf is obtained as a result.
Không có nhận xét nào:
Đăng nhận xét